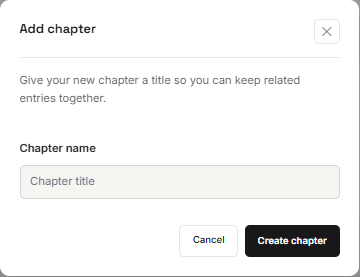
Create a chapter
To create a chapter choose ‘Continue project’ on your dashboard. Then select ‘Create a chapter’.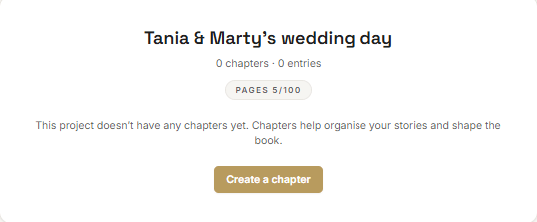
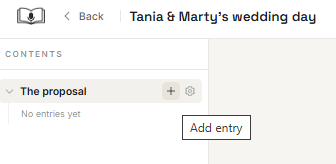
Creating an entry (plus sign)
Clicking on the plus sign will enable you to create a new entry under that chapter (see Entries - add your content).Renaming or deleting a chapter (cog icon)
Clicking on the cog icon will enable you to rename the chapter or delete the chapter, then select ‘Save changes’.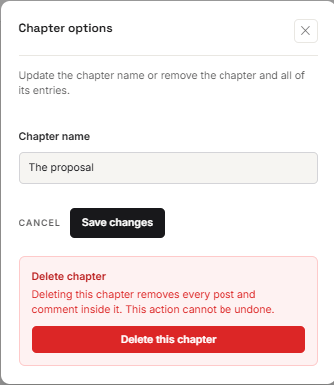
Add another chapter
There are two ways to add another chapter:- Select ”+ Chapter’ from the bottom of the contents list on the left side of your screen
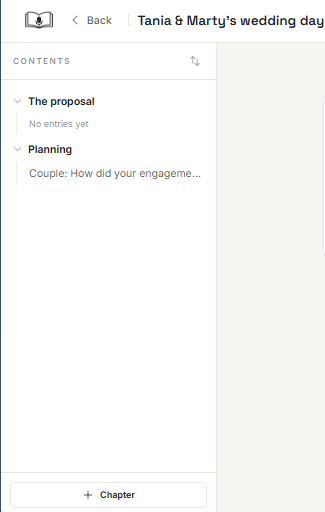
- or Select ‘Add chapter’ from the dropdown menu under the ‘3 elipses’ (vertical dots) in the top right side of the ribbon.
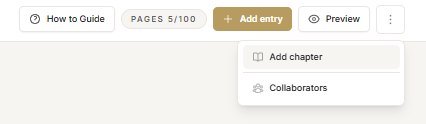
Reordering chapters
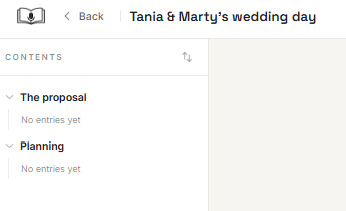
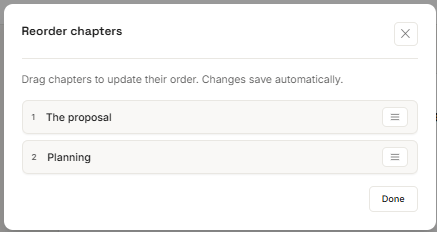
Alongside the ‘Contents’ heading on the left side of the page are two arrows, one pointing up and the other pointing down. Select this to reorder chapters.